
Today I decided to make a fresh install of Kali Sana 2.0 on a spare laptop so Kali Linux 2.0 will run a lot faster than in a virtual machine using VMware. The Kali Linux installation process is pretty straight forward, easy and doesn’t need to much explanation until things go wrong. During the installation I did ran into a couple of problems unfortunately. The first one was related to the installer trying to access the CD-ROM drive for the installation files instead of the USB device. After some research on the internet I discovered that this had to do with a bug and tried several solutions and finally found the last one was working and solved the issue. Because we haven’t done any installation tutorials about Kali Linux so far on Hacking Tutorials I decided to write a small tutorial on this subject for those of you who are just starting out and need some guidance on the process.
In this tutorial we will be installing Kali Linux on the hard drive of a dedicated machine from an USB drive and on a Virtual Machine (VM) using VMware Player. The installation procedure on the hard drive and the virtual machine are basically the same, so we will be looking at the differences only. The differences between the 2 installation methods are mostly limited to the installation media and defining the virtual machine settings. If you have the luxury of choosing between a virtual machine and a dedicated machine to install Kali Linux on, we suggest using the dedicated machine. Apart from the fact that a Virtual machine will consume a lot of resources on your main machine, Kali Linux is said to run more stable on a dedicated machine and in most cases a lot faster too. Let’s continue this tutorial and install Kali Linux Sana!
Installing Kali Linux on a hard drive
As mentioned before we will be installing Kali Linux on the hard drive of a laptop using an USB drive. The installation process will be a little different than installing Kali on a virtual machine because we need to write the ISO to the USB drive and boot the system on which we will be installing Kali from the USB drive. Let’s start with downloading the ISO image from the official Kali Linux website:
https://www.kali.org/downloads/
After downloading the ISO file from the official Kali website you can use Win32DiskImager to write the ISO to a formatted USB drive. Win32DiskImager is a free tool which can be downloaded here:
http://sourceforge.net/projects/win32diskimager/
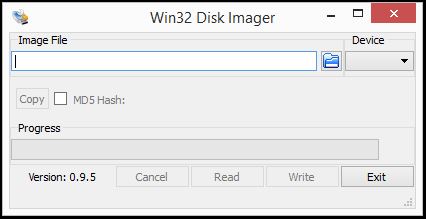
Open Win32DiskImager, select the downloaded Kali image and specify the USB drive which we will be using to install Kali from. First select the downloaded Kali Linux image file, select the USB drive under the device drop down menu and click the write button to copy the image file to the USB device. When the writing process is finished you can connect the USB drive to the machine and boot the system from the USB drive. If this is not happening automatically after rebooting you’ll have to press F12 after booting your system to get into the BIOS menu. In the BIOS menu you can change the boot order of the system so it will boot from your USB drive after the next reboot. After rebooting your machine you will enter the installation menu for Kali Linux.
Installing Kali Linux on a Virtual Machine
When you want to run Kali Linux on a virtual machine you have 2 different options:
- Download the installation ISO and install the operating system yourself.
- Download a virtual machine image with Kali pre-installed and skip the installation process.
In this tutorial we assume you want to install Kali Linux yourself instead of using a pre-installed VM image. After downloading the installation ISO from the official website we need to download VMware player. VMware player is the free version for non-commercial use and can be downloaded here:
https://my.vmware.com/en/web/vmware/free#desktop_end_user_computing/vmware_workstation_player/12_0
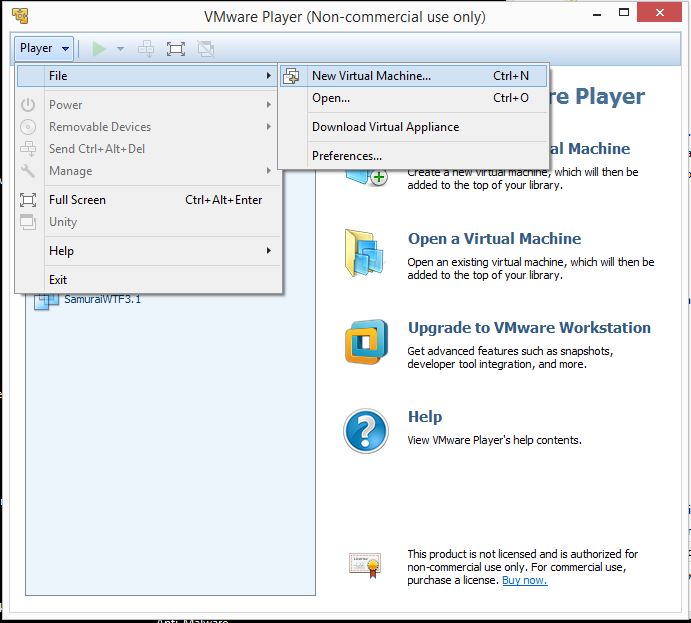
After the installing VMware Player start it and create a new virtual machine from the Player menu:
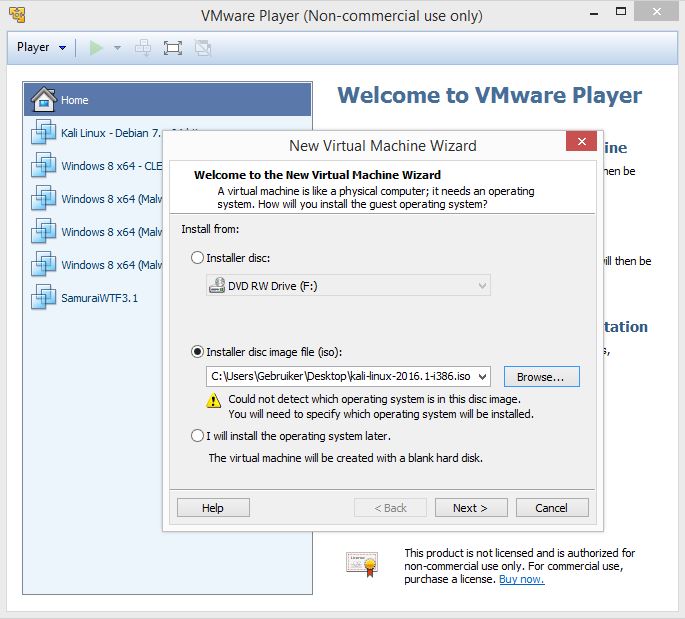
Then select the downloaded Kali ISO and click next:
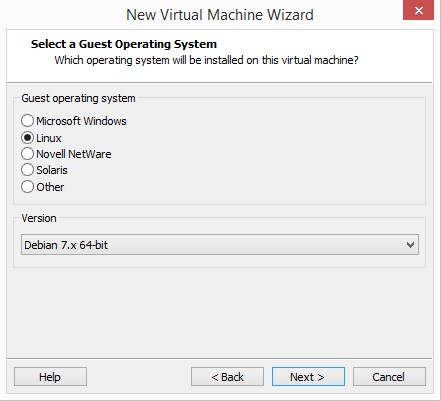
In the following menu we need to specify the type and version of the operating system we want to install. Since Kali Linux is based on Debian Linux we select Linux and Debian 7.x or Debian 7.x 64 bit as the version depending on the version of Kali Linux we’ve downloaded earlier. Click next to proceed the Kali Linux installation.
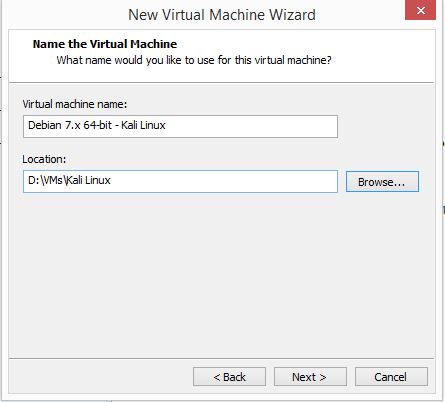
Then the installer will ask us for a location to save the virtual machine image and wants us to specify a name for the VM. We’ll call it Debian 7.x 64-bit – Kali Linux and click next.
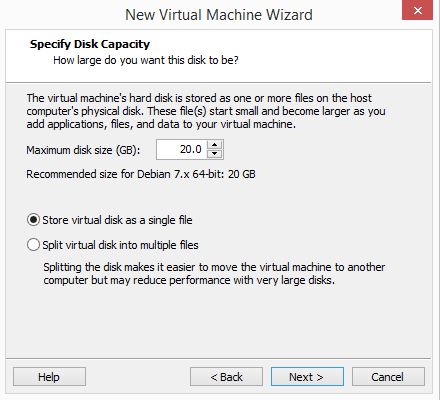
In the next menu we need to specify the maximum disk size of the image and how we want to store the virtual disk; as a single file or in multiple files. For now we keep the default settings regarding the maximum disk size and we choose to store the virtual disc as a single file.
In the next menu we can specify the virtual machine settings related to resources and networking options. Click on the customize hardware button to change these settings.
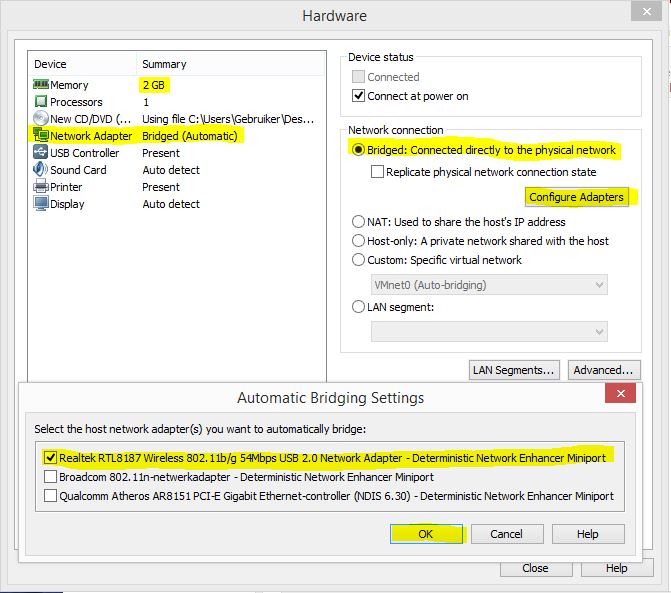
First we click on the memory device and set the memory to at least 2 GB. If you have a lot of free memory available you can also set it higher. We allocate 1 processor core to the virtual machine but you can also choose to allocate 2 or 4 cores depending on how many processor power you have available on your host machine. Next we will change the network settings from NAT to Bridged mode. Then click the “Configure Adapters” buttons and select the network interface you want your virtual machine to use. In our case we select the Realtek RTL 8187 network interface. We keep all the other settings default.
Save your virtual machine settings and click the finish button. Your virtual machine is ready to continue with the Kali Linux installation procedure. To start the installation procedure you need to select the new virtual machine and click “Play Virtual Machine”. The virtual machine will boot into the Kali Linux installation menu.
Kali Linux Installation Procedure
After we have setup our virtual machine or USB device with the installation ISO we can continue with the actual Kali Linux installation procedure. The installation procedure is pretty similar on both machines but we will highlight the differences or specific bugs for both platforms.
After we started the machine on which we will be installing Kali Linux on we will be presented with the installation menu. The Kali Linux installation menu looks as following:
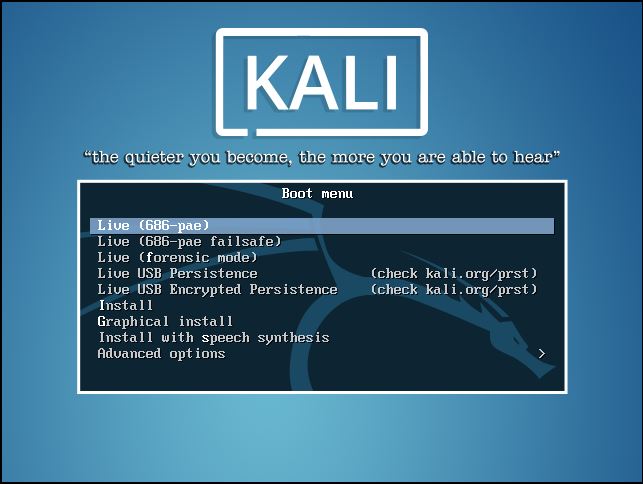
In this menu we choose to install Kali Linux using the regular installation menu, choose install from the menu and press enter. In the language menu we select the desired language we wish to use in Kali Linux and press enter.

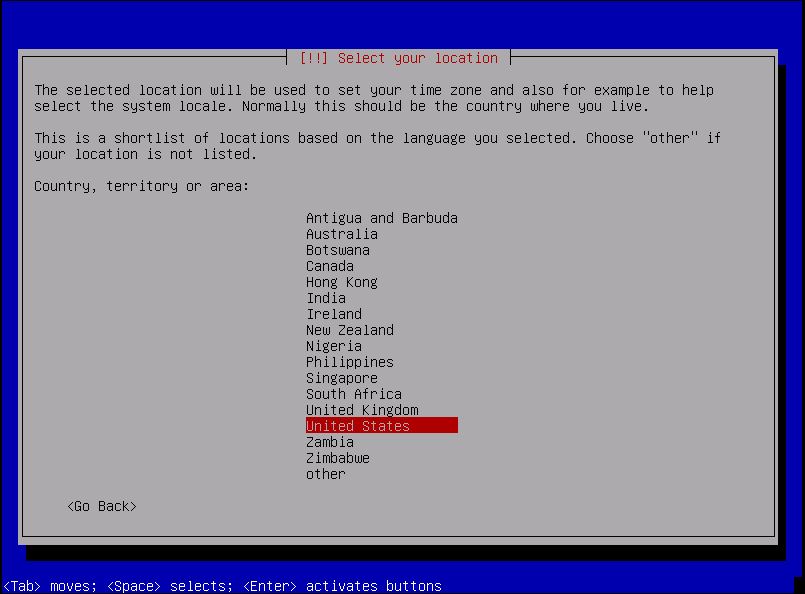
The next step in the installation procedure is the location. Select your location and press enter.
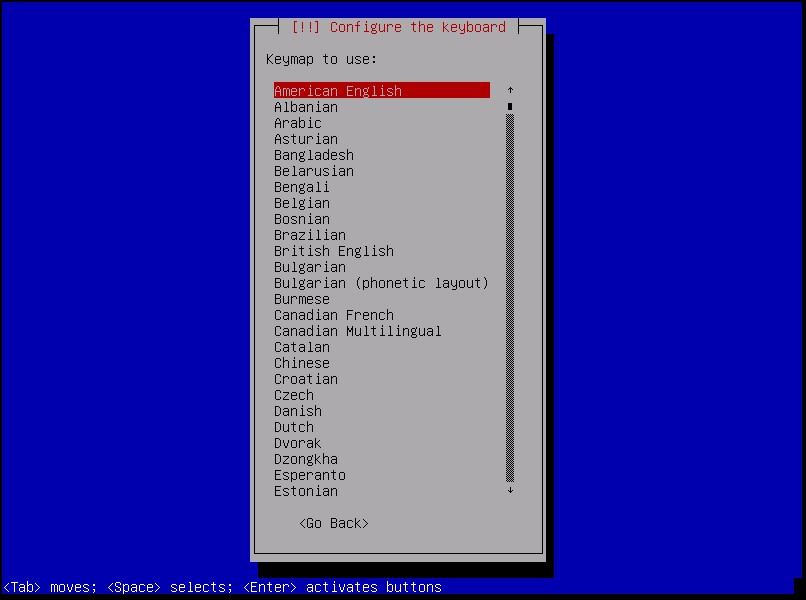
Then we need to select the key map we want to use for the keyboard. Select it and press enter.
After pressing enter the installation process is started. Wait for it to finish, this might take a little while.
Kali Linux Installation CD-ROM Mounting error
At this point you can get an error related to your CDROM drive when you are installing Kali Linux on a hard drive from an USB device. The following error will be presented on your screen:
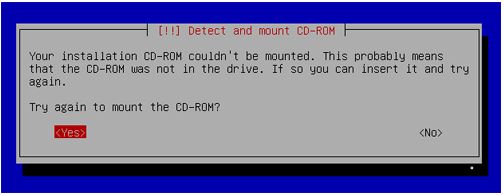
And after trying to mount it again:
Select Yes and press enter. It will fail again to mount a CD ROM and you will be presented a few options to continue the installation procedure. From these options you should choose to start a command line. Use the command line to mount your USB device using the following command:
mount /dev/sdb1
The USB device will be mounted and the installation process should continue as normal. Some users reported they had this issue solved by removing and re connecting the USB device. We tried this procedure but unfortunately it did not work in our case.
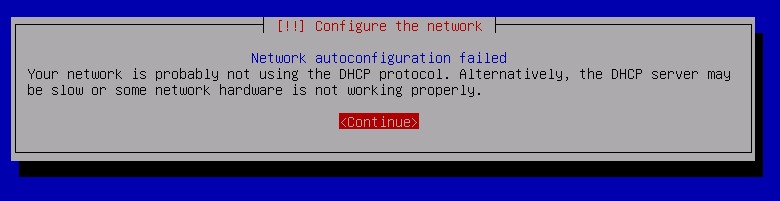
Network autoconfiguration failed error
Another error that might pop-up during the installation process is an error regarding to your network settings. You can solve this error on your virtual machine by using your host OS to connect to a network using the network device we’ve specified for the VM earlier. You can also skip the error and configure the network settings later after the installation procedure has been finished.
Kali Linux Installation continued
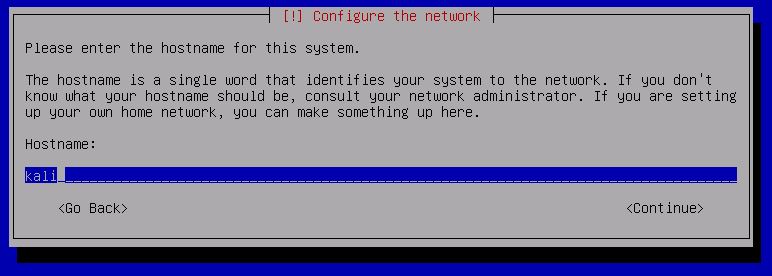
Next we need to specify a hostname for our Kali Linux installation. We’ll keep it default and press enter to continue:
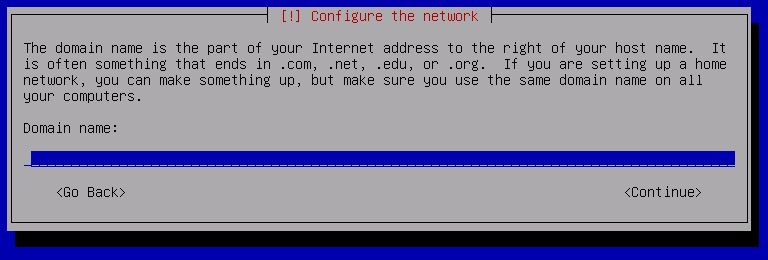
We’ll keep the domain name settings default as well, which is blank, and we’ll continue the installation by pressing enter.
In the following menu we need to specify an administrator/root password. Choose a password and continue the installation procedure.
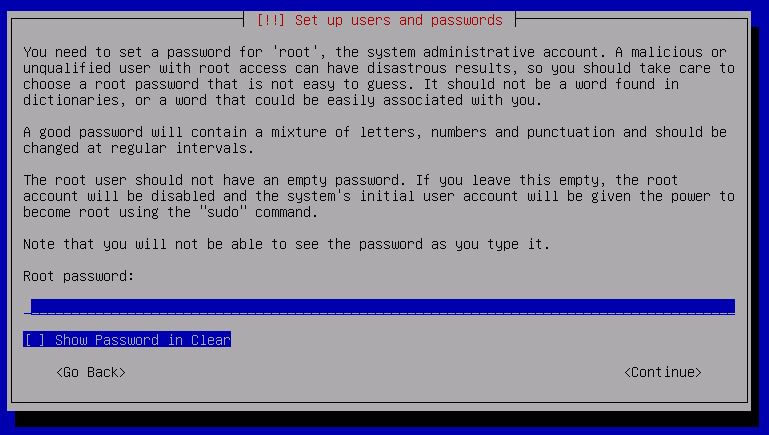
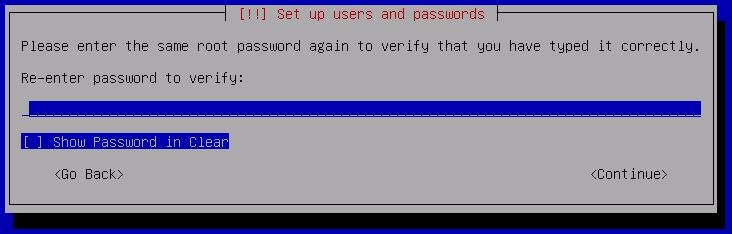
Re-enter the root password and continue:
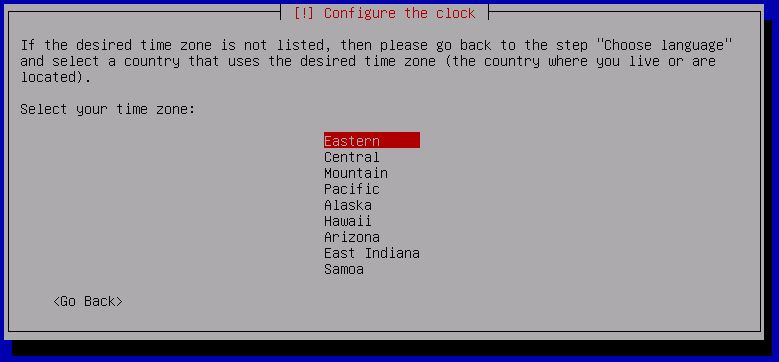
Now we need to select our time zone to configure the clock. Select your time zone and press enter to continue.
Now we need to partition the disks we want to install Kali Linux on. We will use the guided partitioning method on the entire disk.
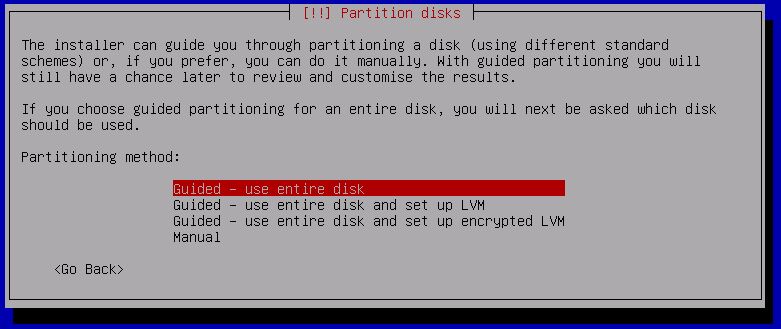
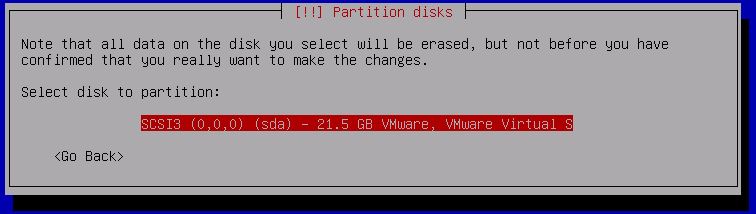
In the following menu we need to select the disk we want to install Kali on. When you’re installing Kali on a virtual machine there will be one disc available which you should choose. When you’re installing Kali on a hard drive be sure to select the right hard drive because it will be formatted before installation. Choosing the wrong drive might cause permanent data loss which can be hard to recover. All data on the selected drive will be erased!
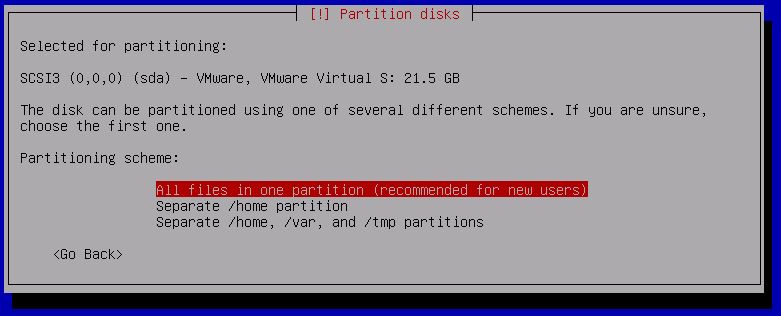
In the following menu we can choose how to partition the selected drive. We’ll choose for the default and recommended option: All files in one partition.
The following menu will show us an overview of the selected partitioning options. Read through them carefully and press enter to start the partitioning process.
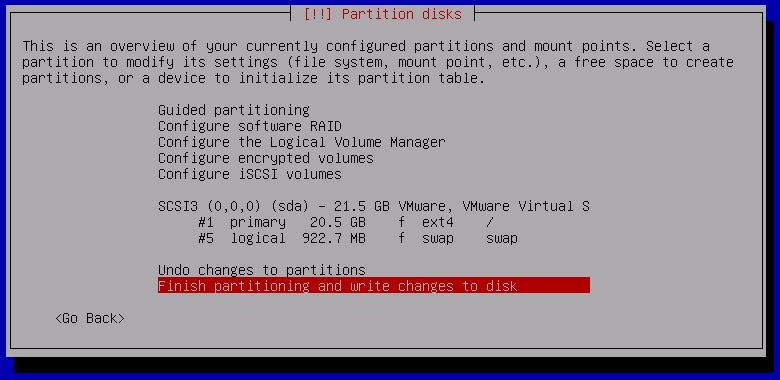
Confirm again by selecting yes and press enter:

The disc will be formatted and partitioned and the installation procedure will start automatically. Now grab a cup of coffee or another drink to recover from all this hard work because this might take a while to finish ;-)
Close to the end of the installation you’ll be asked to use a network mirror, you can ignore this setting and choose no. After that you will be presented the following menu:
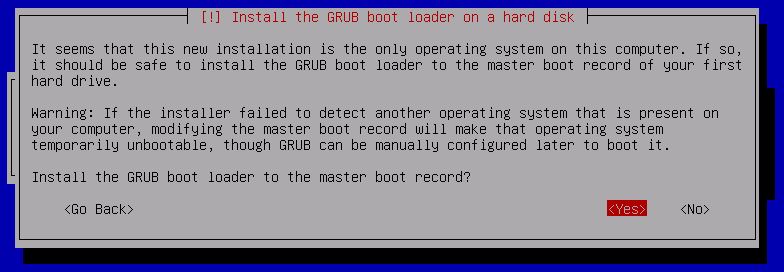
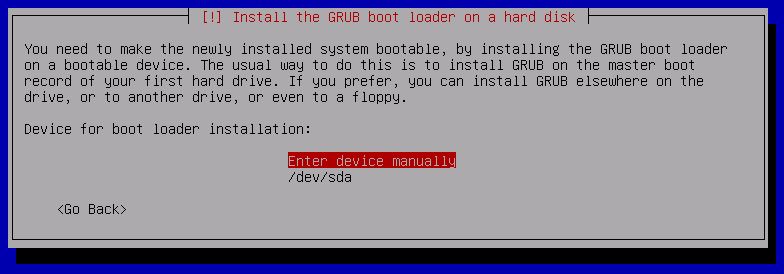
Choose yes and press enter to continue. In the next menu choose the disk you’ve installed Kali Linux on: /dev/sda
The installation procedure has been finished, choose continue to reboot and start into Kali Linux. If you installed Kali Linux from an USB device be sure to remove it before rebooting. Otherwise you will trigger the installation process again.
Thank you for following this tutorial on Hacking Tutorials. We hope it was helpful to you and that you were able to successfully complete the installation process without any error. Do not hesitate to ask questions about this tutorial or other hacking tutorials using the comment function below, social media or e-mail. You are now ready to follow any other hacking tutorial on hackingtutorials.org because most of them use Kali Linux as operating system and the included tools like Metasploit, Websploit and the Aircrack-Ng suite for Wifi Hacking.
Update Kali Linux
After rebooting and logging into our fresh Kali Linux installation it is suggested to run an update on the OS and installed components. You can do this by opening a terminal and type the following commands:
apt-get update
apt-get upgrade
Choose yes and wait for the updating process to finish. Depending on the downloaded images, the available updates and your connection speed, this process might consume a lot of time.
Kali Linux Installation Video Tutorial
You can review every installation step in the following video on Youtube.
Thanks for watching and please subscribe to Hacking Tutorials Youtube Channel!

15 Comments
for the CD-ROM Mounting error I removed the USB and re inserted it again and it worked for me
At the GRUB installation fails… Please help
Could you be more specific? I know that some things like windows’ NTFS have gotten in the way before.
my installation was succeful but is asking me of username and password which i enter and they password fail please i need help
The default credentials are:
Username: root
Password: toor
Hello,
I tried the default credentials.
No success.
Is there any other username / password combination?
Hi,
The default credentials are:
Username: root
Password: toor
Did you try these credentials?
there is no option of command line. The option is
1) choose language
2)Access s/w for a blind person using a braille display
3)Detect and mount cd rom
4)load installer components
5)change debconf priority
6) check the cd rom integrity
7)save debug logs
8)execute a shell
9)abort the installation
Choose option 8: Execute shell
Please help: it means “can’t find /dev/sdb2 in /etc/fstab
how do I fix that ?
Can’t find a single article covering important things like DISK PARTITION type ( GPT or MBR ) and bootloader type ( uefi or legacy )…grub will fail to show up if any of these things messes up.
Hi, i installed Kali Linux but when i stop all processing and shut down the VM after that when i started again it show again installation process how do i start installed kali linux.
Hi, Did you remove the install media?
Never, and all processing has been saved in Virtual Box but i can’t start intalled Linux, how do i start installed kali linux ?
I mean did you remove the install media after the installation was finished?